Get Into PC – Download Free Your Desired Softwares and App
Windows 7 USB Installation Guide
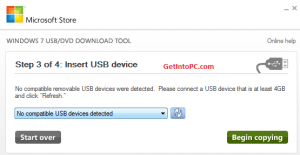
The method of creating a bootable USB flash drive is the most suitable method for deploying the Windows 7 OS in any PC, laptops, or the older station computers. Though Microsoft itself designed the USB/DVD Download Tool, it is the other open-source tools like Rufus that have carved their niche as the standard tools in handling the imaging files. Using the deployment utility downloaded from websites like Getintopc guarantees all necessary standalone files.
Prerequisites
- Before proceeding with the installation process, ensure that the following are available:
- Windows 7 ISO Image: A pristine copy of your chosen Windows 7 installation disk image (Ultimate, Professional, or Home Premium editions).
- USB Flash Drive: A minimum of 4 GB. Take note that all the contents stored in the flash drive will be erased during the formatting process.
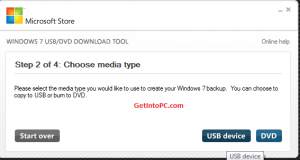
- Deployment Tool: Rufus version 4.x or the conventional Windows 7 USB/DVD Download tool.
Step-by-Step Creation Guide Using Rufus
- It is an independent software package which doesn’t require system installation. This utility is highly recommended due to its excellent performance in terms of speed and wide variety of options available when setting up partitions structure.
- Media Connection: Attach your USB flash drive, which must be empty, into one of the working ports of your administration computer.
- Utility Execution: Launch the executable file of Rufus with elevated rights.
- Target Selection: Select your attached USB flash drive in the Device drop down menu.
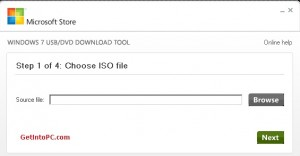
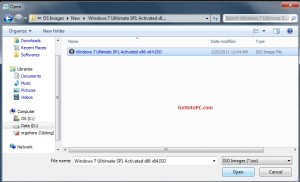
- OS image loading: In the Boot selection window click on the SELECT button, find your required .iso Windows 7 file on your local folders and click OPEN.
- Target Partition Selection:
- MBR – choose this format when your target system will use legacy system with BIOS system framework.
- GPT – choose this format when your target computer has new generation UEFI firmware system.
- Settings: Select NTFS partition format (FAT32 in case of some specific boot options of UEFI). Do not change the allocation clusters sizes.
- Action process: Press the START button in the lower part of the window. Confirm that you know about data loss possibility of the USB flash drive content.
Booting and Installation Procedure
- As soon as the READY status appears in the window, detach the flash drive in a safe way and plug it into the target computer to begin with the OS deployment.
- BIOS/UEFI Boot Priority Setup: Turn the target PC on and press the system setup key several times on the motherboard, which can be represented by one of the following: F2, F12, Delete, or Esc. Enter BIOS. Go to the Boot tab and change the priority in such a way that USB flash drive would appear first in the list. Save changes and exit.
- Installing Windows: The PC will reboot, and an auto-installer for Windows 7 will appear. Configure language and region preferences, choose a time format and set up the keyboard, after which click the Next button.
- Partition Management: Move forward and click Install Now to accept the license terms and conditions, pick Custom (Advanced) mode, proceed to the Drive Options and remove old system partitions, format the HDD and assign an unallocated volume for deploying OS.
- Finalizing the Process: Click Next to have the system deploying files, extending features and performing a set of baseline updates. In this case, the PC will reboot automatically.
Technical Details & Tool Information
- Recommended Deployment Utility: Rufus (Latest Portable Edition)
- Core Configuration Tool Size: ~2.5 MB (Standalone execution engine)
- File System Compatibility: NTFS / FAT32
- Hardware Baseline Requirement: 4 GB Flash Drive minimum, Intel or AMD x86/x64 processing units.
Software Architecture Resources
To create a safe and reliable environment for creating media building, one needs the actual utilities. This can be done through accessing some sites such as Getintopc which will allow one to get the actual utility package as far as either the Windows 7 USB tool or the Rufus software download.